 How to Paint a Bedroom: A Step-by-Step Guide
Introduction:
A fresh coat of paint in your bedroom can instantly brighten up and transform your sleep haven. However, the thought of painting may seem like a daunting task, especially for those who lack any experience in DIY projects. Thankfully, painting a bedroom isn't as difficult as it may seem, and with the right steps, you can enjoy a beautifully updated space! In this guide, we'll walk you through how to paint a bedroom and provide a list of necessary materials.
Materials Needed:
-
1. Paint: Choose a high-quality paint in your desired finish and color. The finish options typically include flat, eggshell, satin, semi-gloss, and high-gloss. A gallon of paint usually covers around 350 square feet.
-
2. Primer: A quality primer is essential for maximum adhesion and to ensure that the paint color appears true and vibrant.
-
3. Paint roller and tray: A 9-inch paint roller is recommended for smooth surfaces. For textured surfaces, consider using a ¾ inch nap roller or a roller made specifically for textured surfaces.
-
4. Paintbrush: A 2-inch angled paintbrush works well for cutting-in (painting edges and corners).
-
5. Painter's tape: Use this for protection and to create crisp, clean edges along baseboards, trim, and any other areas you don't want to be painted.
-
6. Drop cloths: These are essential to protect your floors and furniture from paint splatters and spills.
-
7. Ladder or step stool: Depending on ceiling height and personal preference, you may need a ladder or step stool to reach high areas.
-
8. Sandpaper: Use sandpaper to smooth down any rough spots on walls before beginning.
-
9. Protective gear: Consider wearing a painting suit or old clothes, goggles, and a mask to minimize paint exposure.
Step-by-Step Guide:
-
1. Prepare the room: Remove all furniture, or move it to the center of the room and cover with drop cloths. Remove outlet covers and any decorative elements, such as hanging artwork.
-
2. Repair any damage to walls: Inspect your walls for any small holes or cracks, and repair them using spackling paste or a patching compound. Once it's dry, sand it smooth.
-
3. Clean the walls: Use a damp cloth or sponge to wipe down walls and trim, removing dirt, dust, and grease. Let the walls dry completely before proceeding.
-
4. Apply painter's tape: Apply painter's tape to baseboards, window and door trim, outlets, and any other areas you don't want to be painted, ensuring a tight seal for crisp lines.
-
5. Prime the walls: Apply primer to the walls using a roller or brush, starting with the edges and then filling in the center. Priming is essential for maximum adhesion and to ensure that the paint color appears true and vibrant. Allow the primer to dry according to manufacturer's instructions.
-
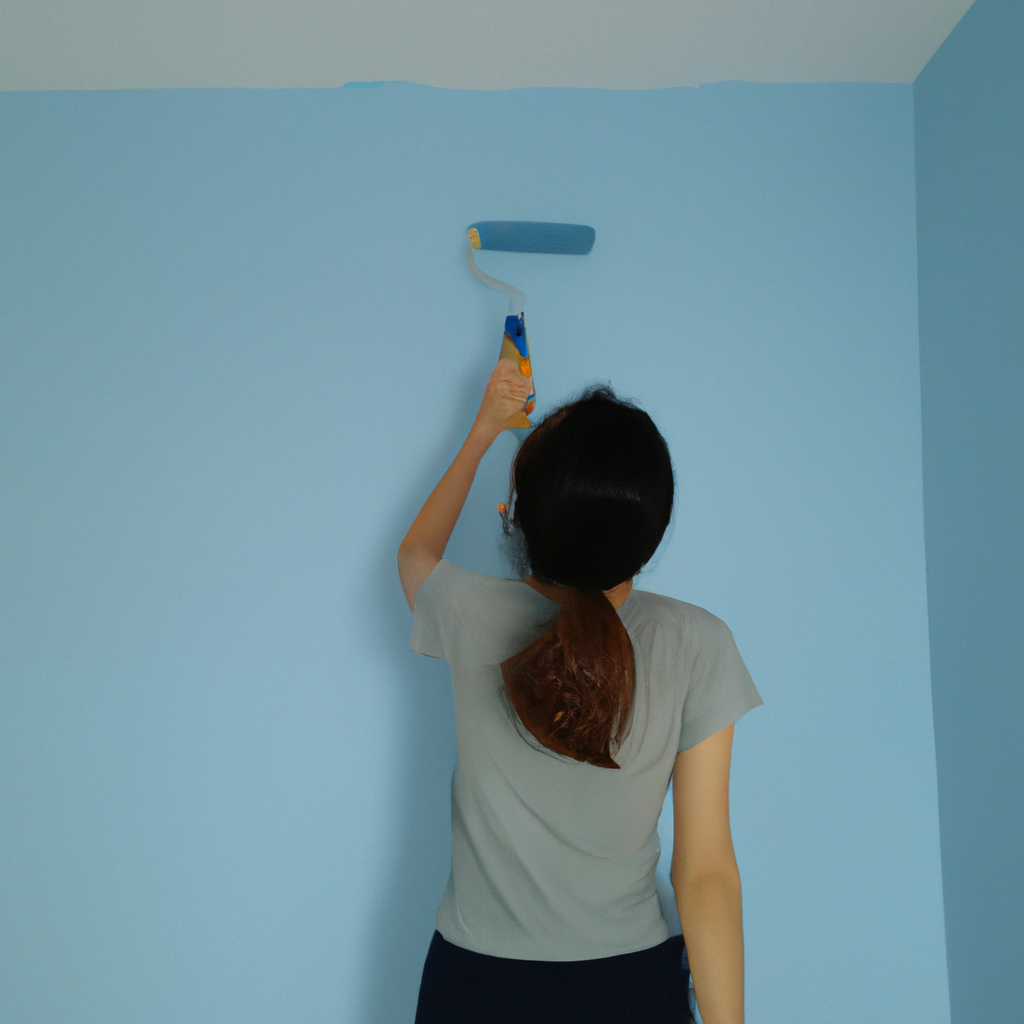
6. Paint the edges: Using a 2-inch angled paintbrush, start cutting in along the edges and corners of your room. Brush a 2-3 inch-wide strip of paint next to doorframes, windows, baseboards, and the ceiling's edges. Doing the edges first ensures that the roller won't leave a noticeable line.
-
7. Paint the walls: Using your paint roller, start at the top corner of the wall and make a "W" or "M" pattern. Then, without lifting the roller, fill in the gaps between the pattern, working your way across the wall. Once the first coat is applied, check for any areas that need touch-ups or missed spots. Allow the paint to dry according to the manufacturer's instructions.
-
8. Apply a second coat (if needed): Depending on the color and paint quality, you may need a second coat for full coverage and a professional-looking finish. If necessary, repeat steps 6 and 7 after the first coat has fully dried.
-
9. Clean up and reveal: After the paint has completely dried, carefully remove painter's tape, reinstall outlet covers, and remove drop cloths. Move your furniture back into place and rehang any artwork or room décor. Finally, step back, and admire your freshly painted bedroom!
Conclusion:
Painting a bedroom may seem like a difficult task, but with the right materials and following the proper steps, you can achieve a beautiful and professional-looking update.
With patience, preparation, and attention to detail, your bedroom will be transformed into a serene oasis you'll love retreating to!